Part 7 of 8 · ← How does the trial phase work?
In just a few steps, you can create an appointment in the admin panel – for a customer or for yourself during the test phase. Here's how, step by step. Where the results end up is covered in step 9 below.
Here as a video, below as screenshots:
Everything the pharmacy does happens here in the admin panel. The “App” button in the top right – right next to “Sign out” – leads to the customer app: the view for end customers. Signing up there starts the end-customer onboarding and has nothing to do with creating appointments.
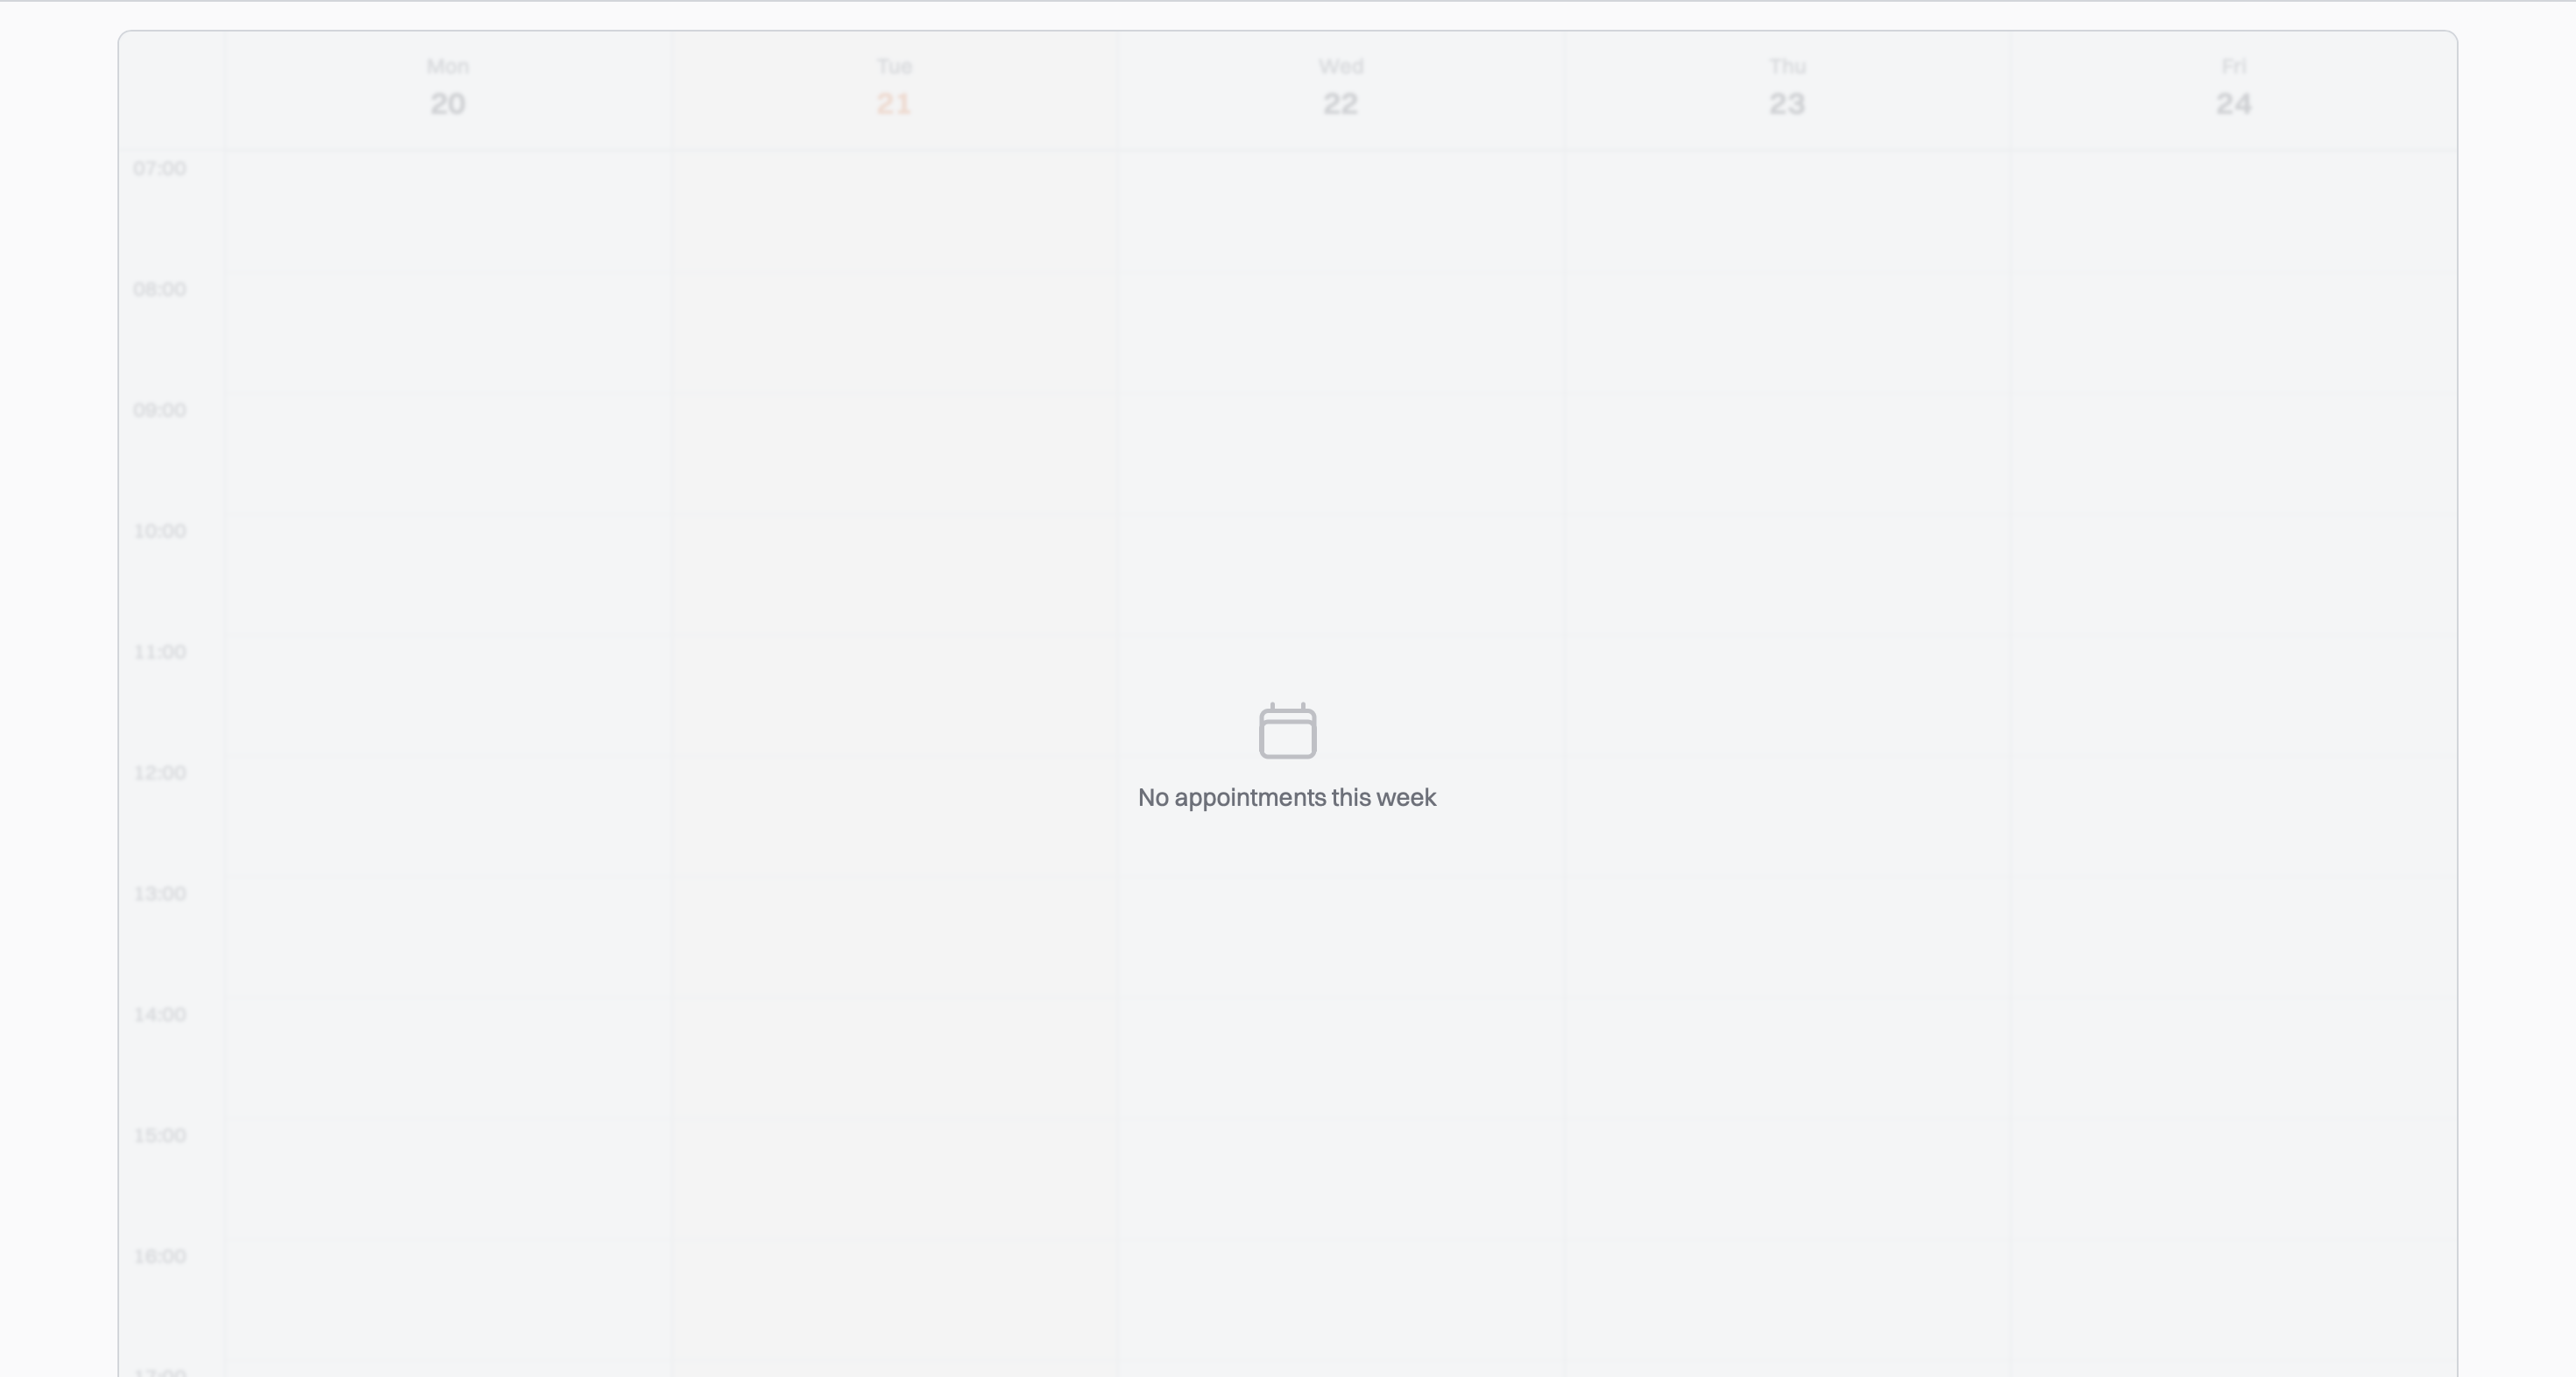
The empty admin panel.
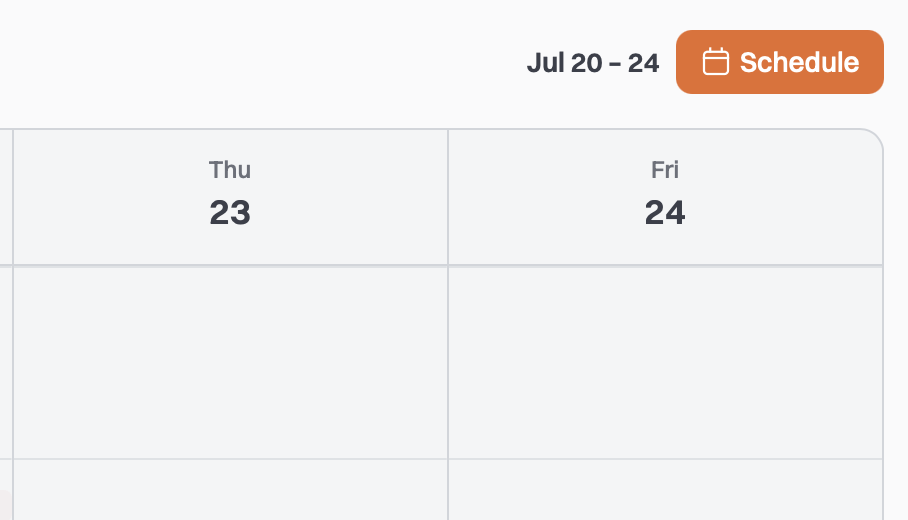
Click the appointment button in the top right to create a new appointment.
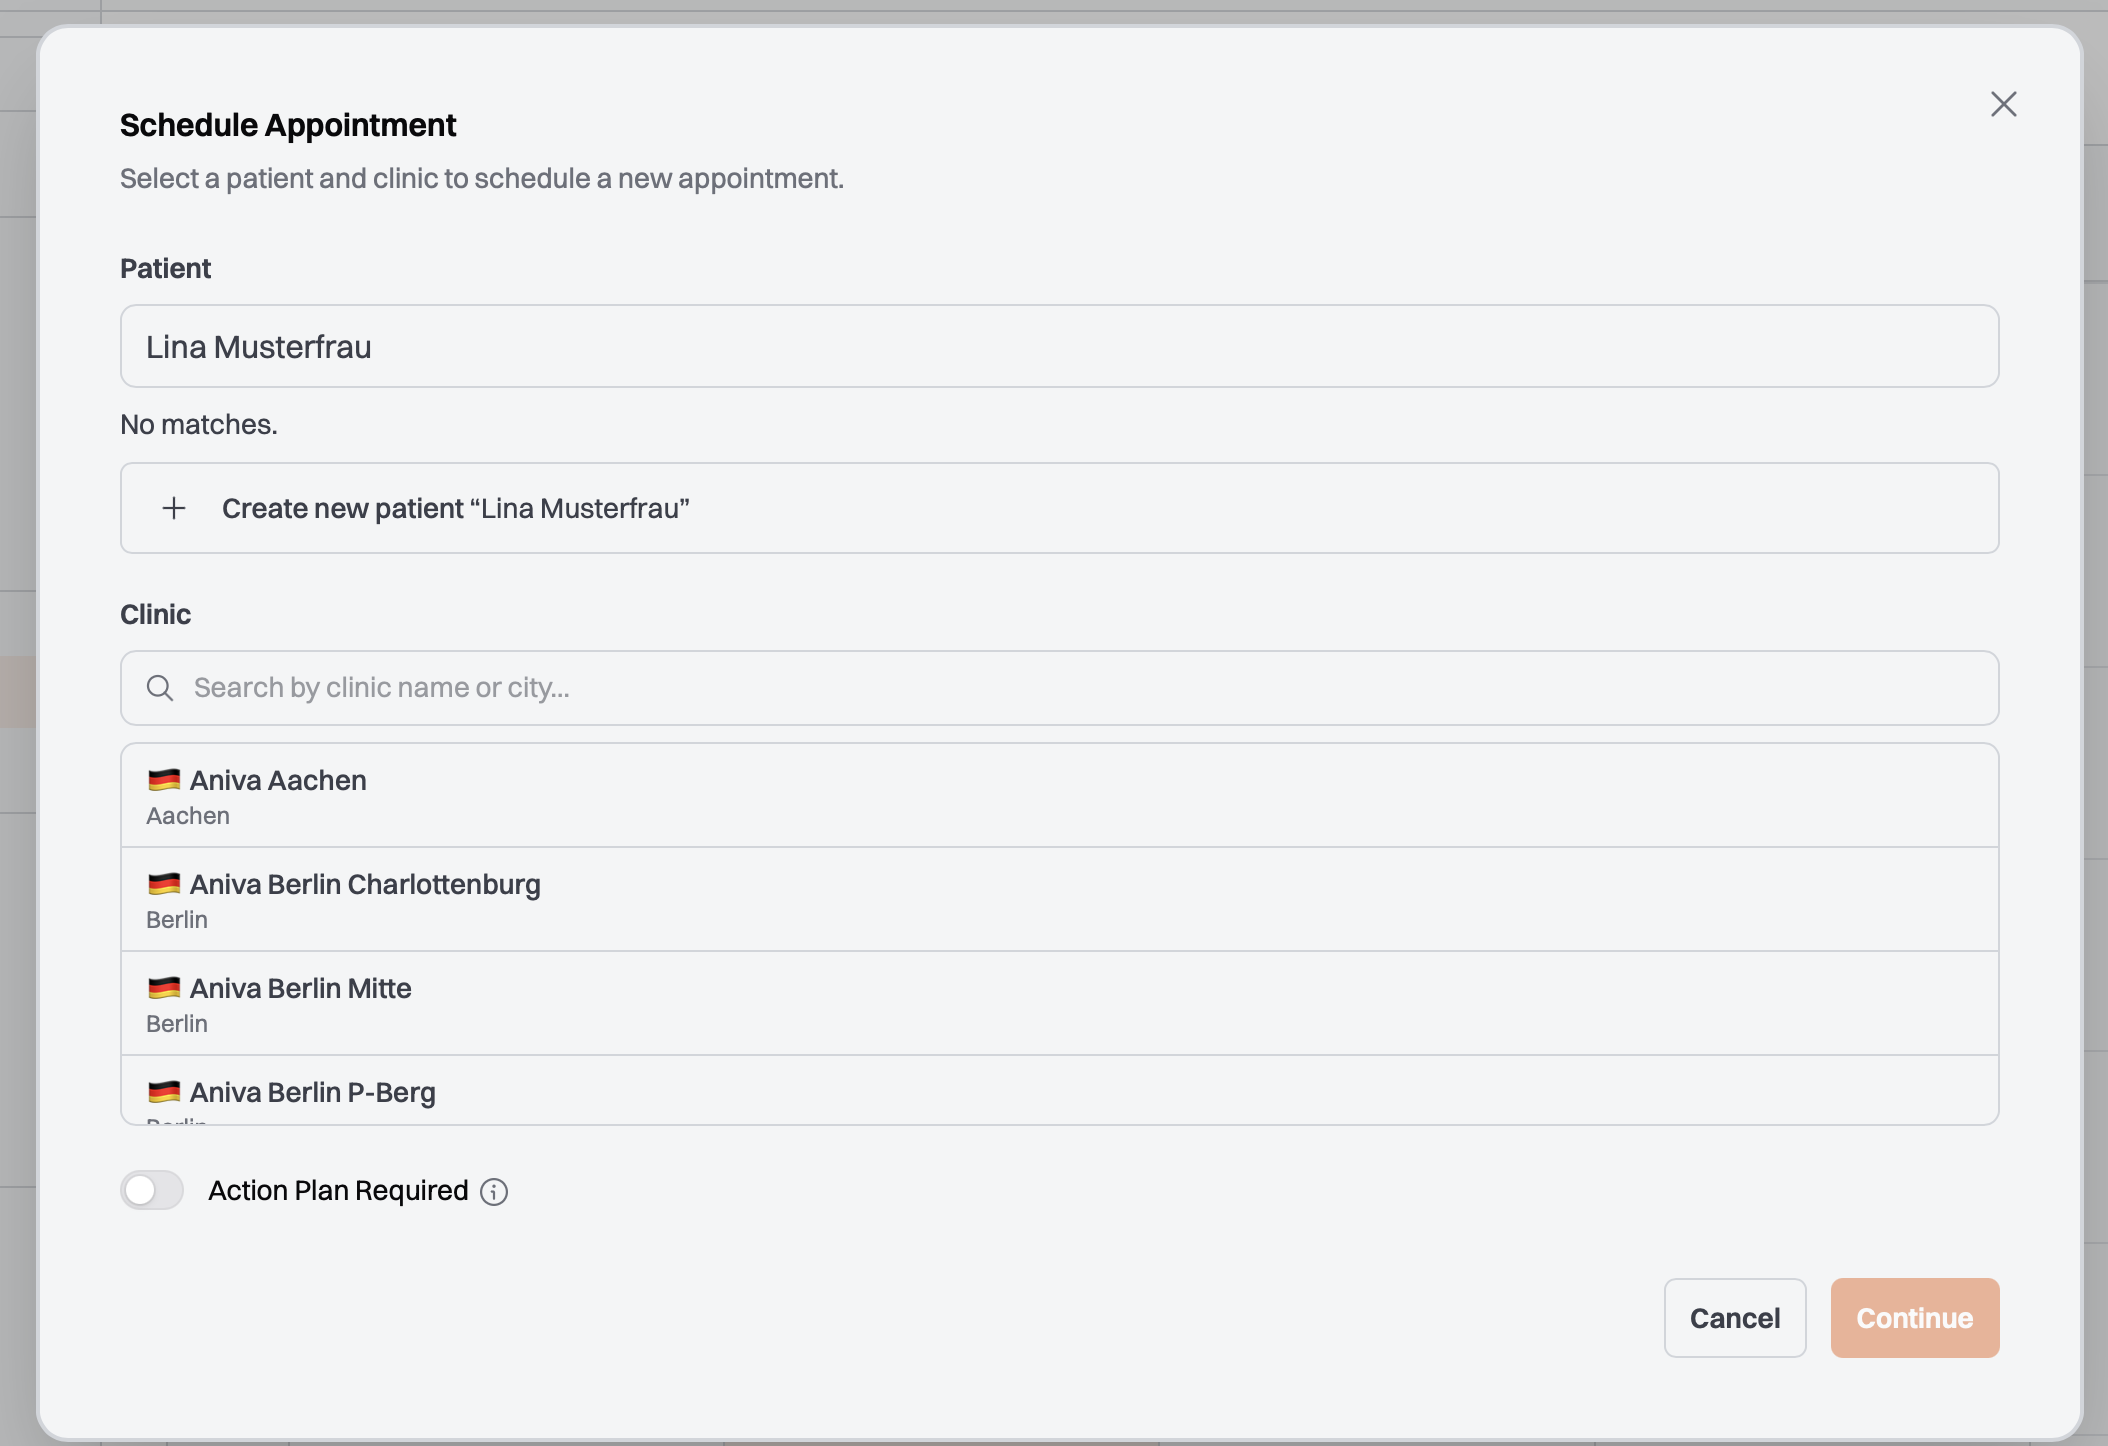
Enter the customer's name. If they aren't in the system yet, a “Create patient” row appears underneath – click it.
This also applies when you run the test on yourself: always create a new patient. Your admin account is the login you work with here – it does not belong in the patient field.
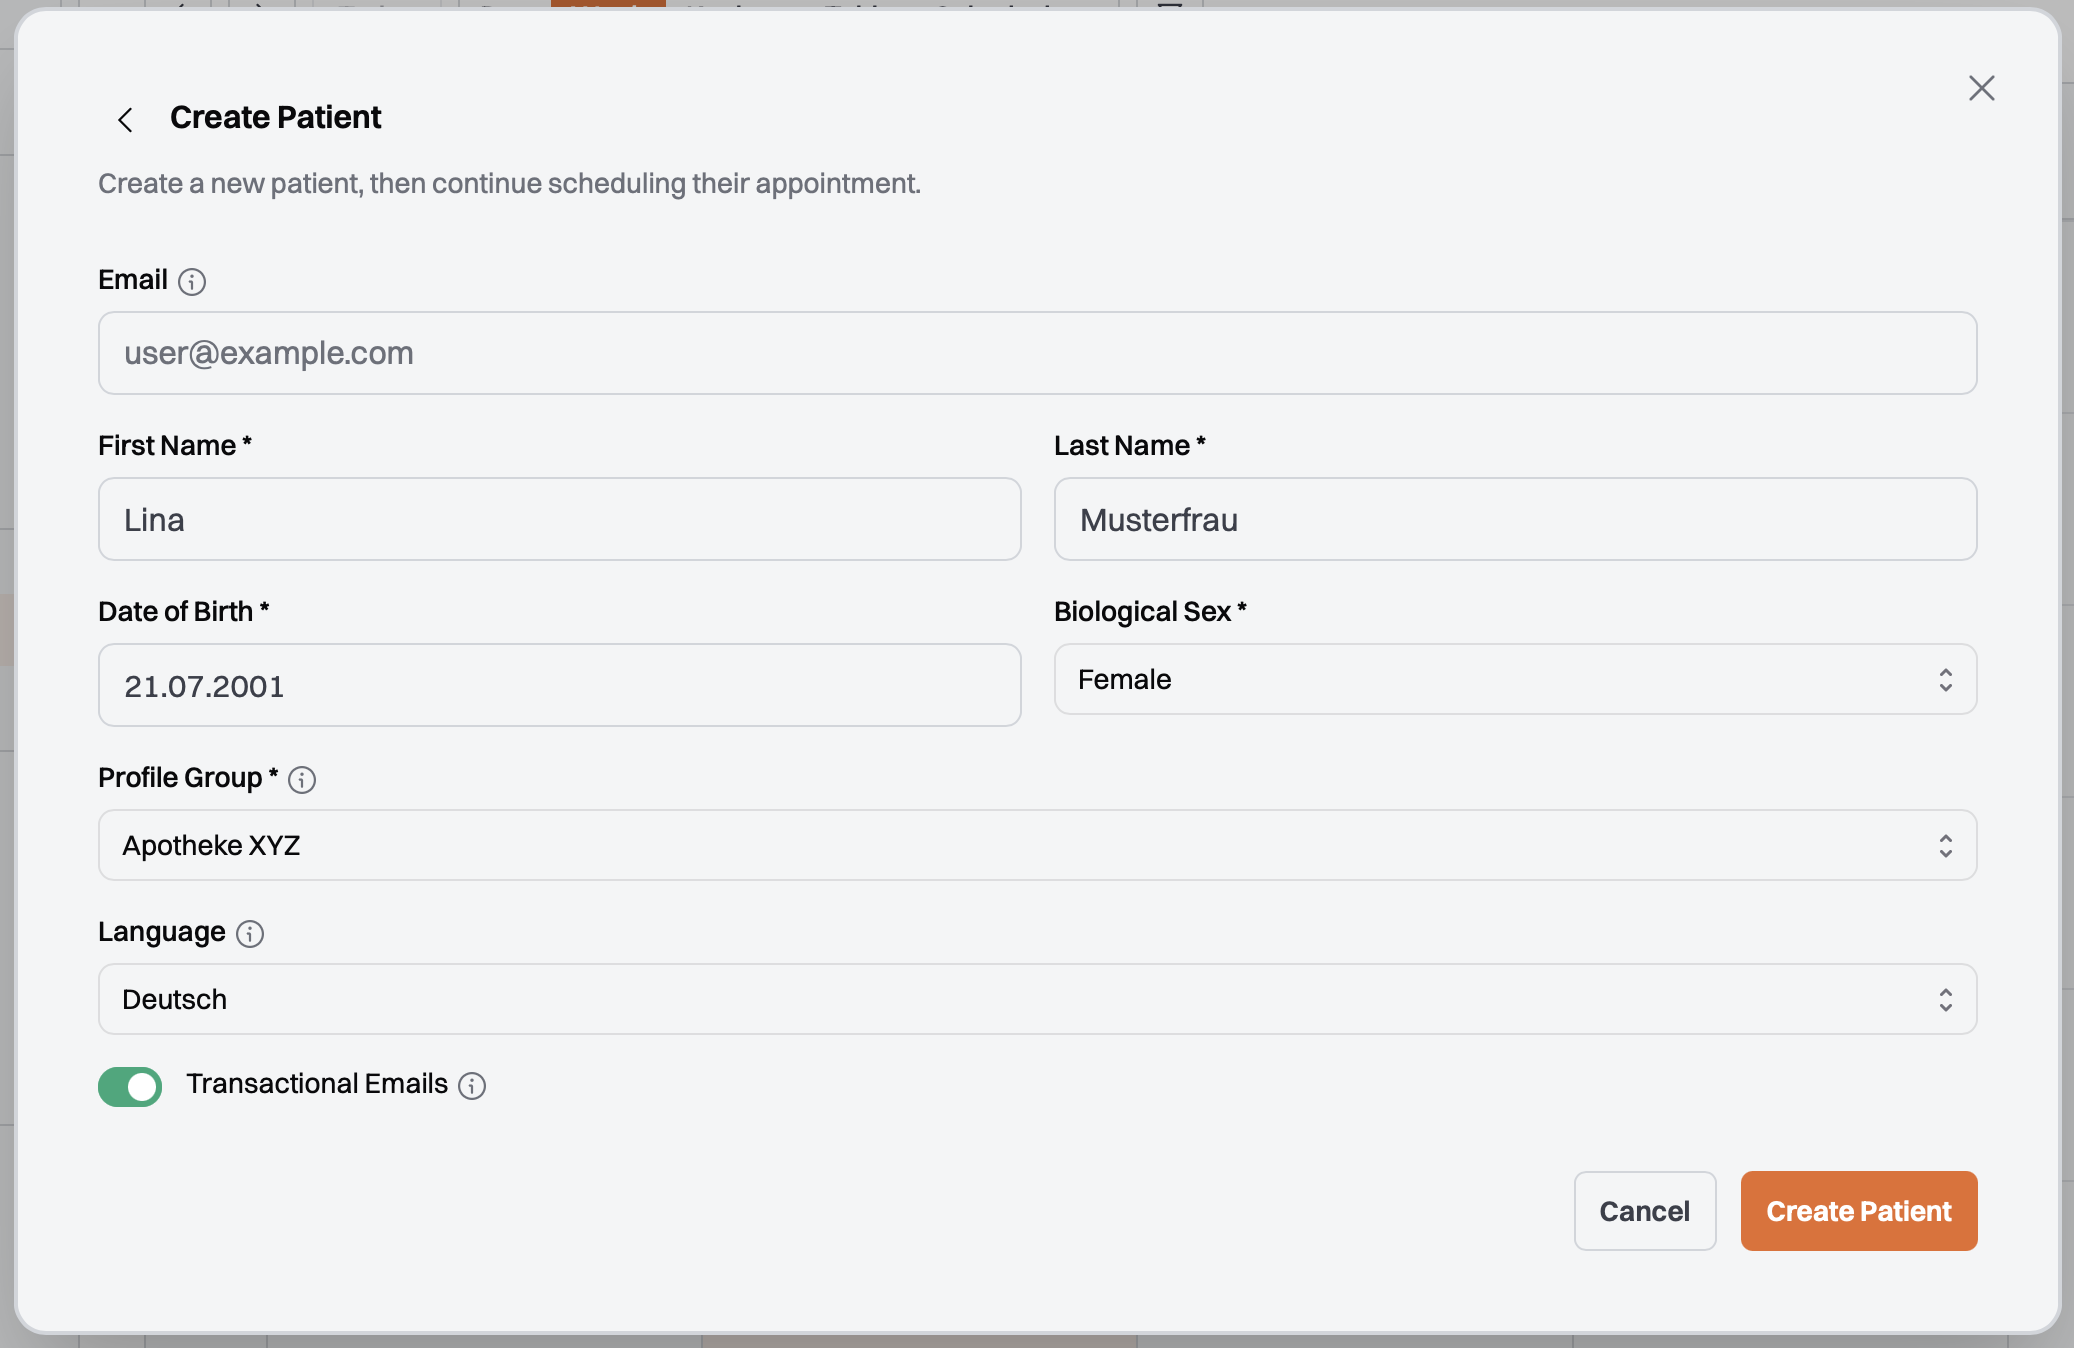
Enter all customer details – date of birth and biological sex are required fields. Only fill in the email address if the customer wants to receive the result by mail.
Select your pharmacy as the test location.
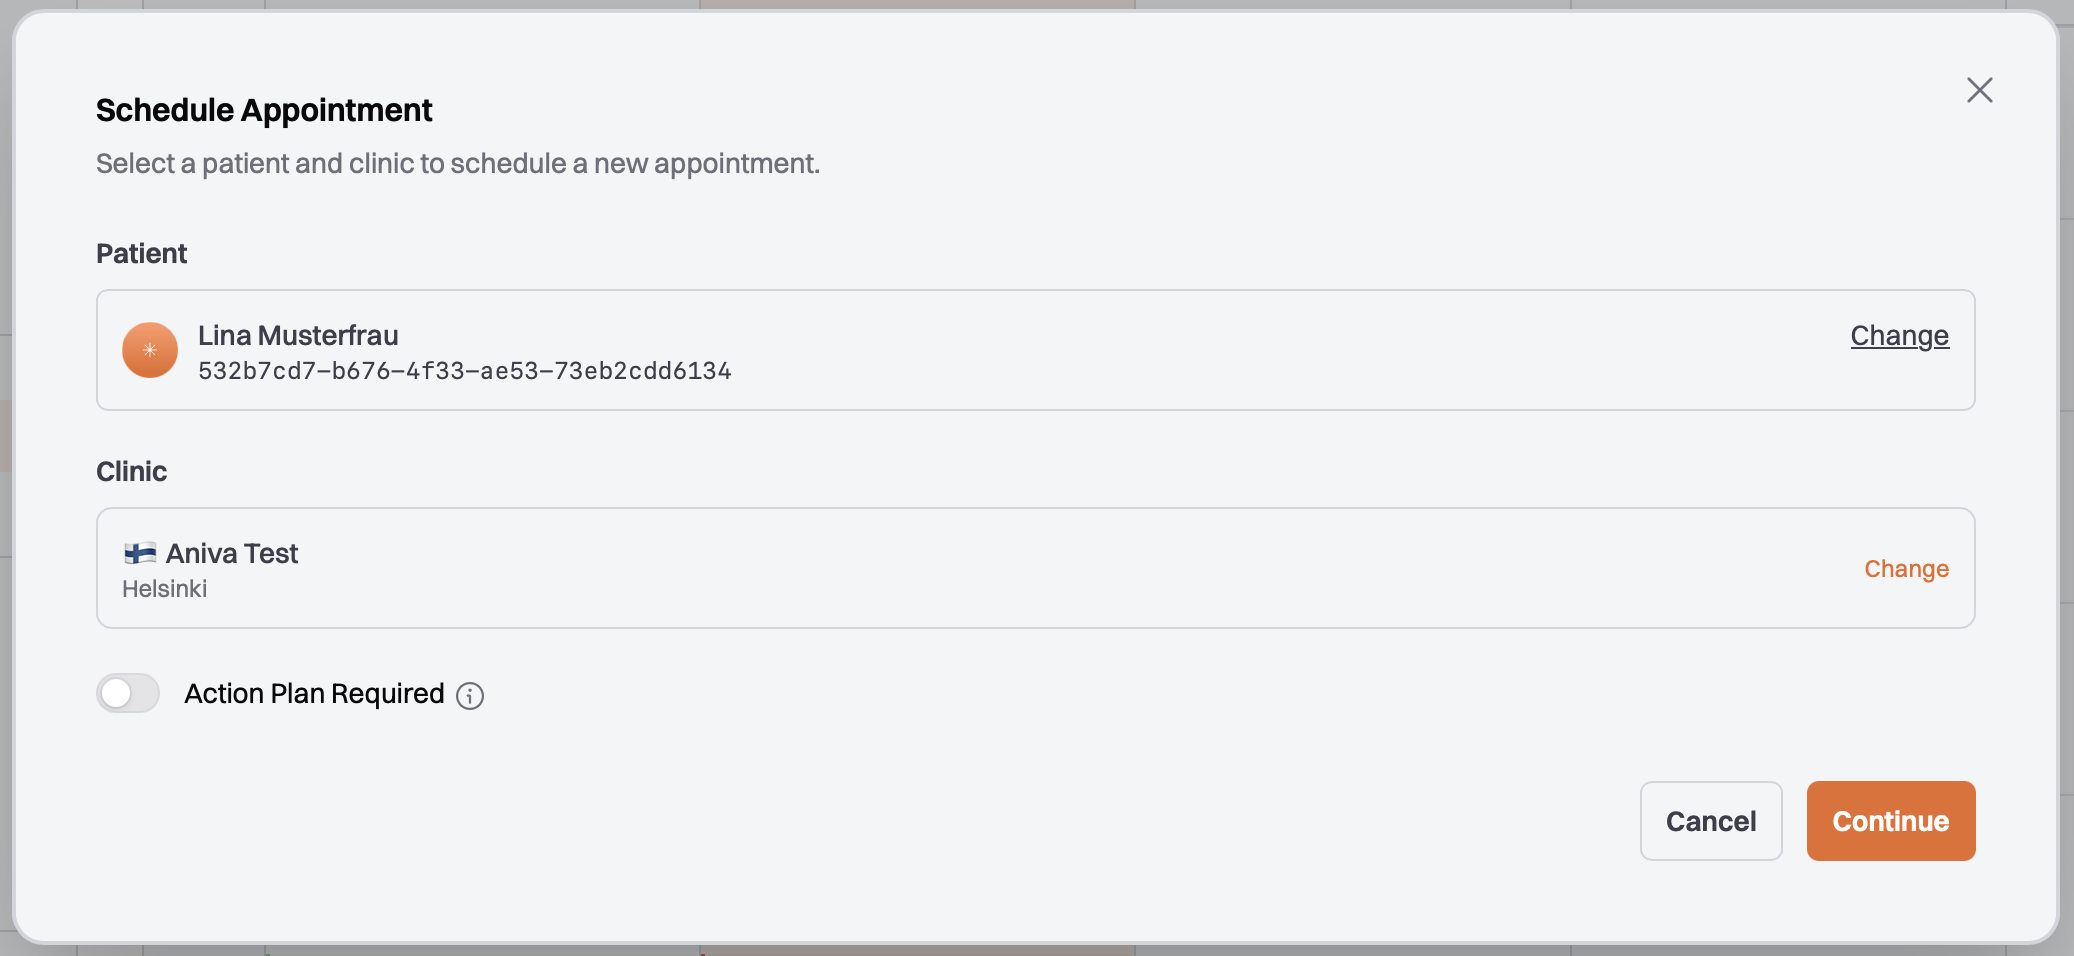
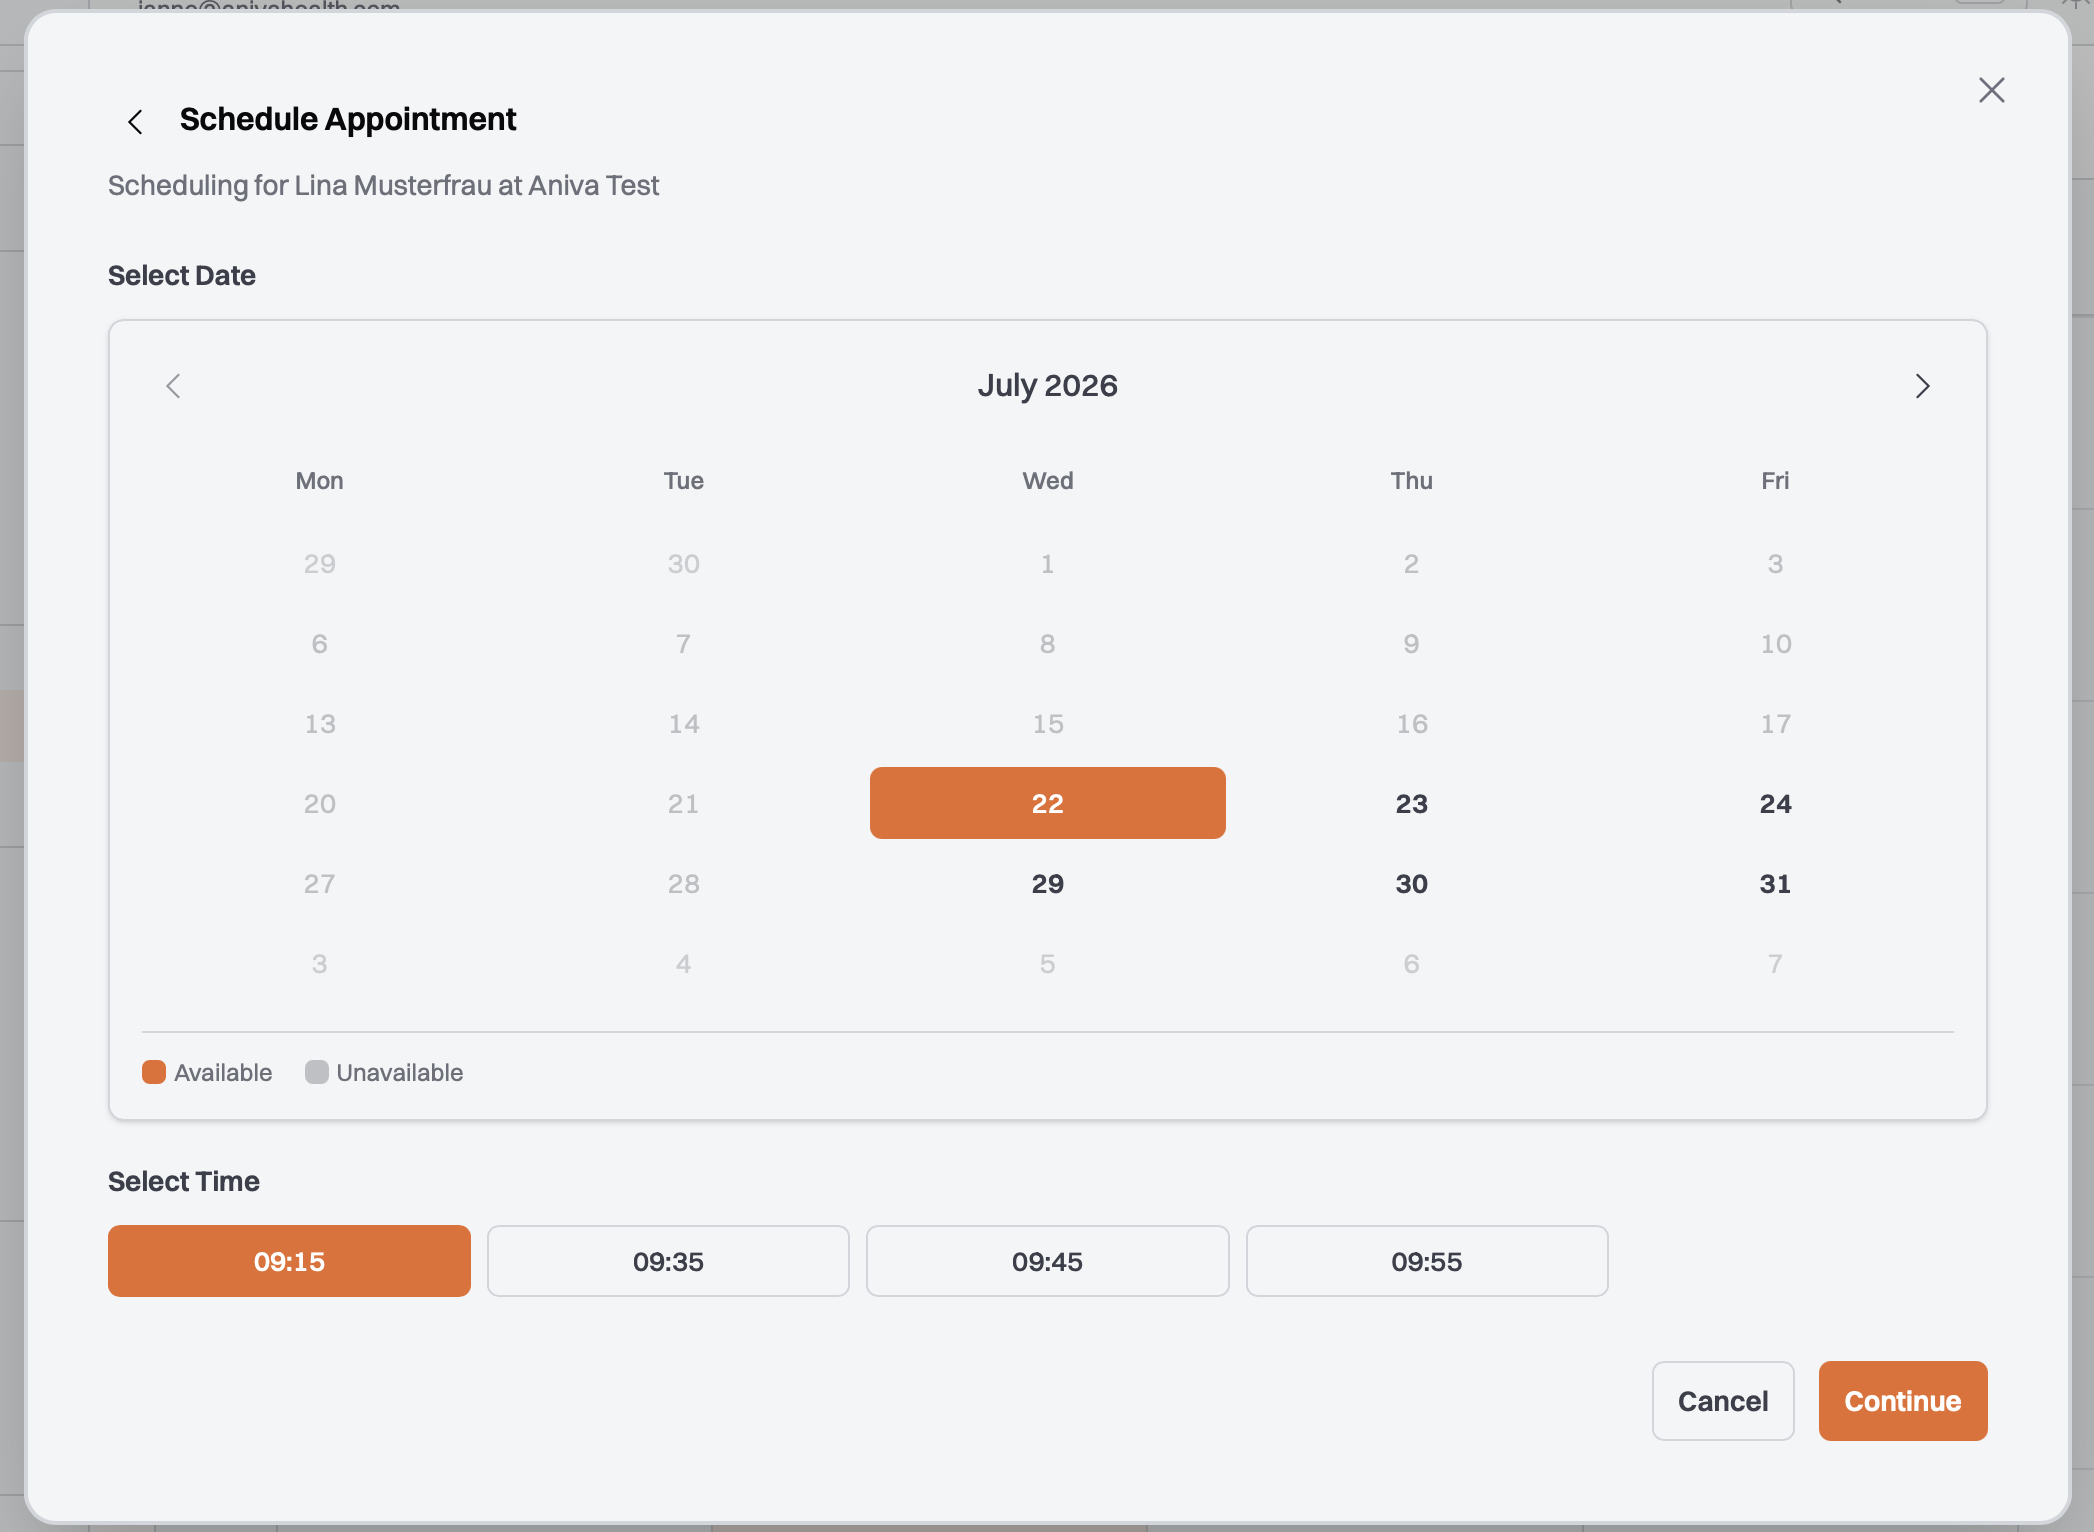
Select the time for the test – this also works if the customer is already in the pharmacy.
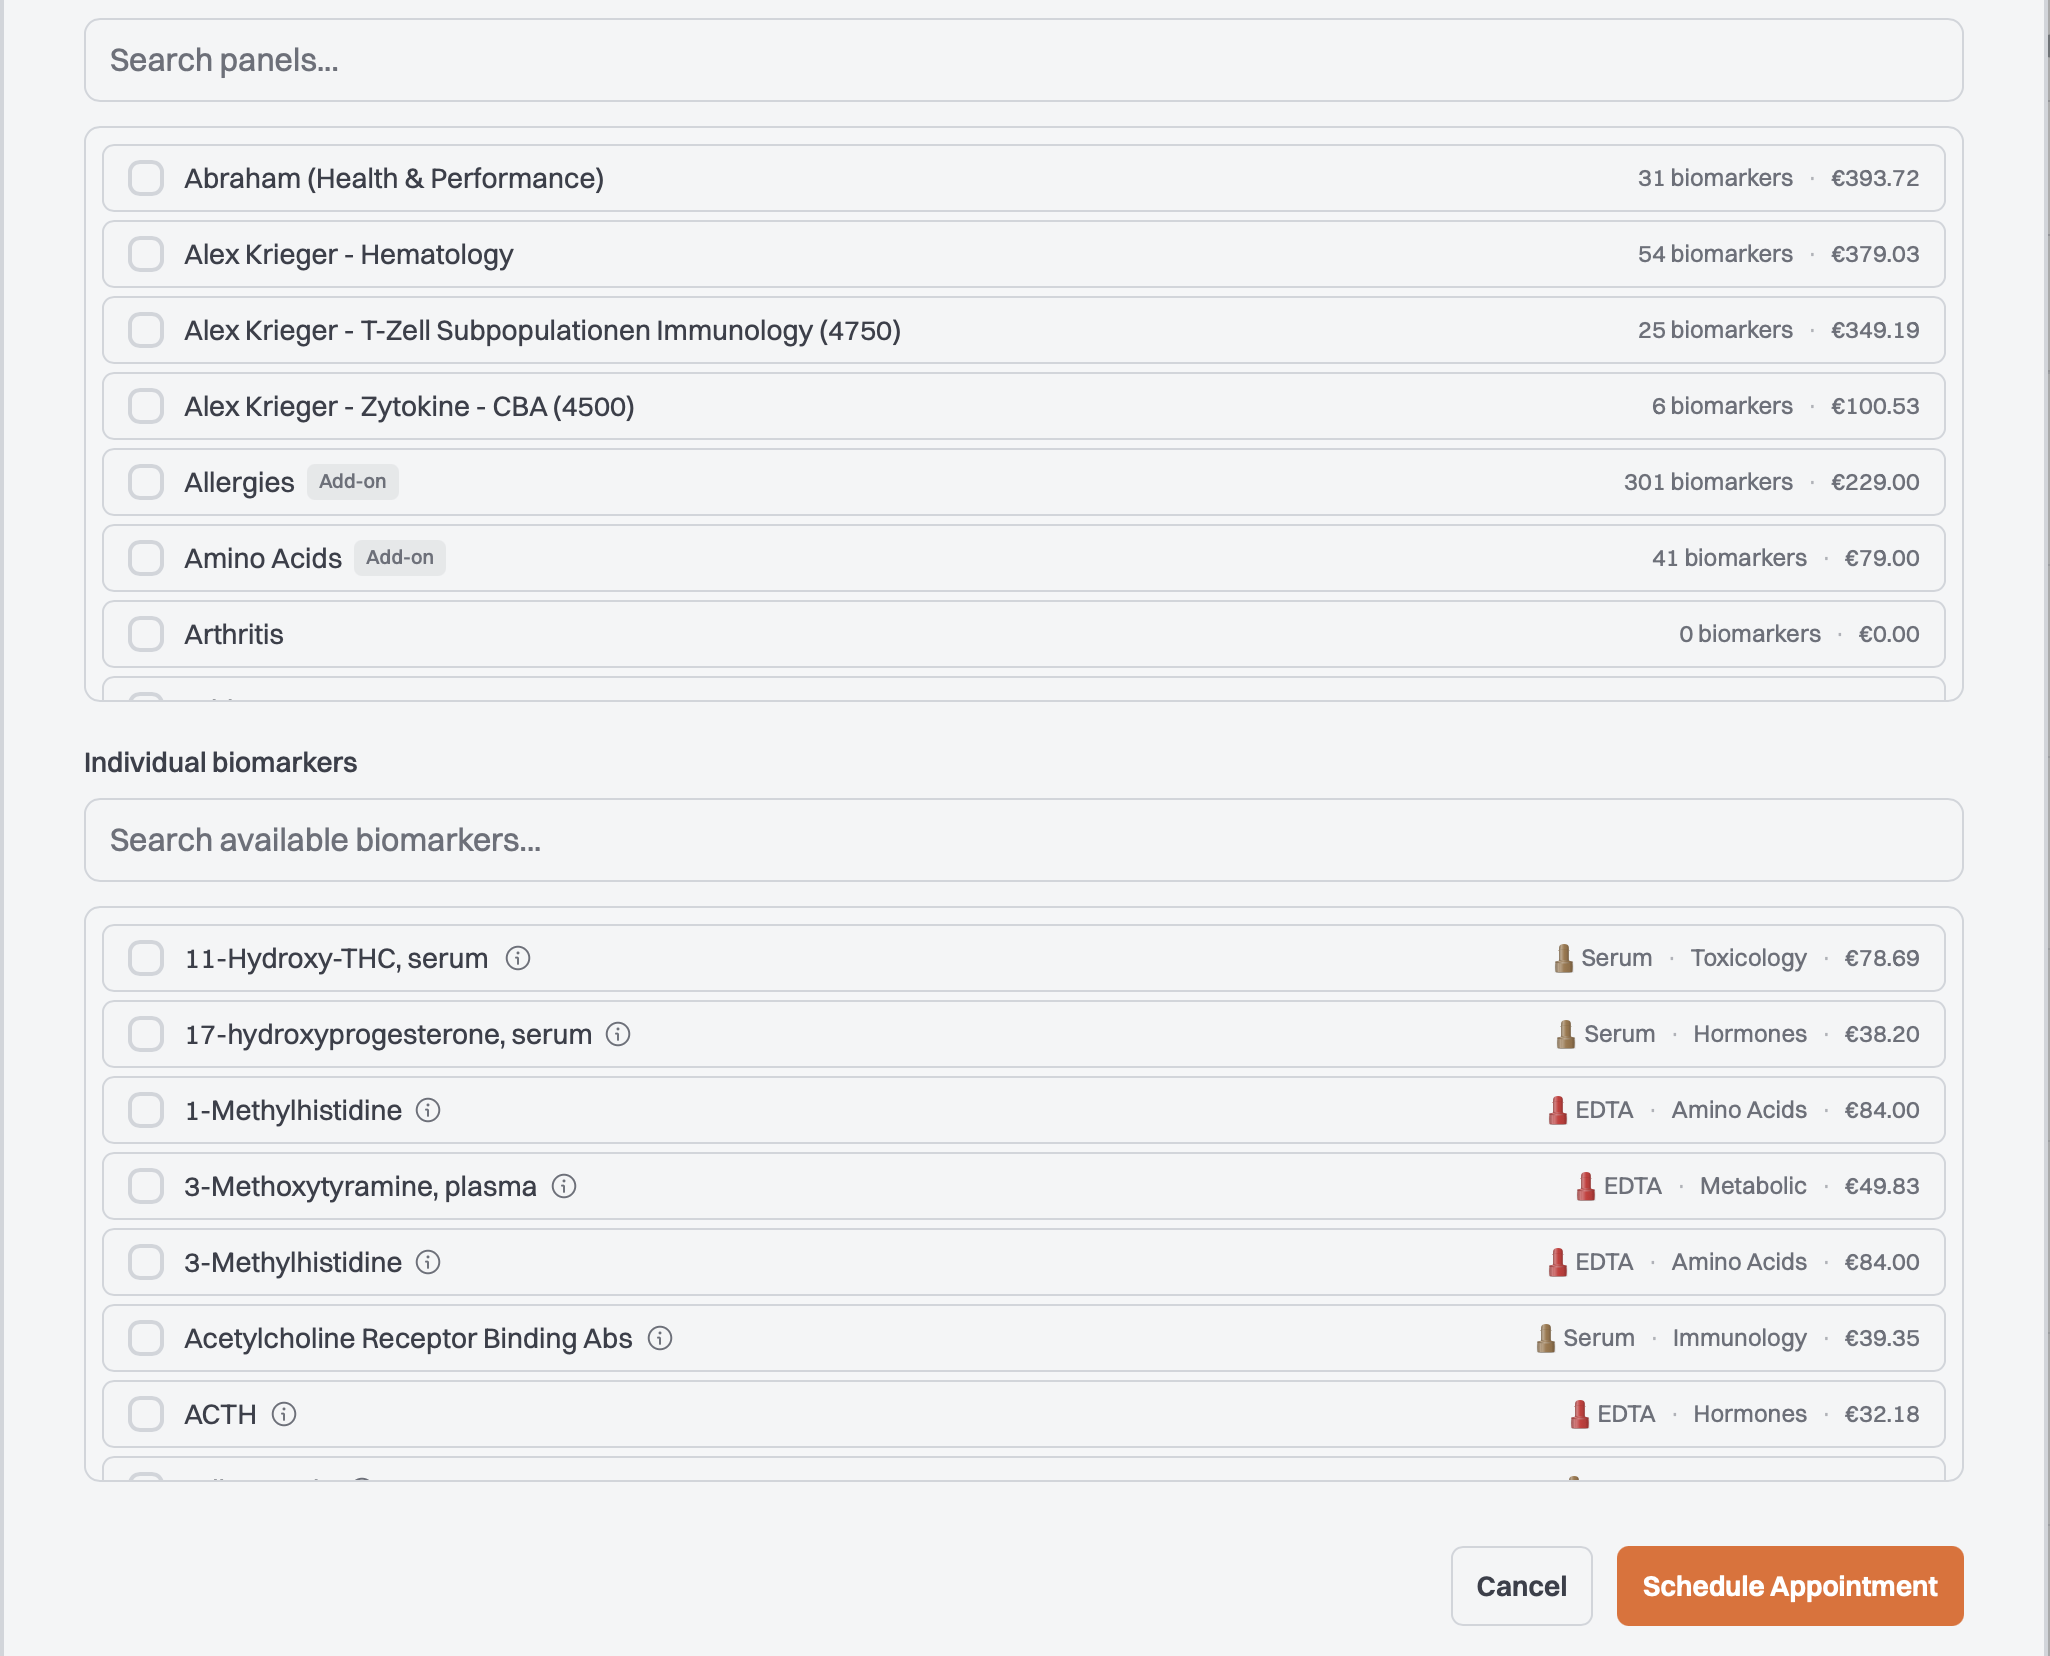
Select your panels and complete the appointment. Done! Which tubes you need for this appointment is shown in the appointment.
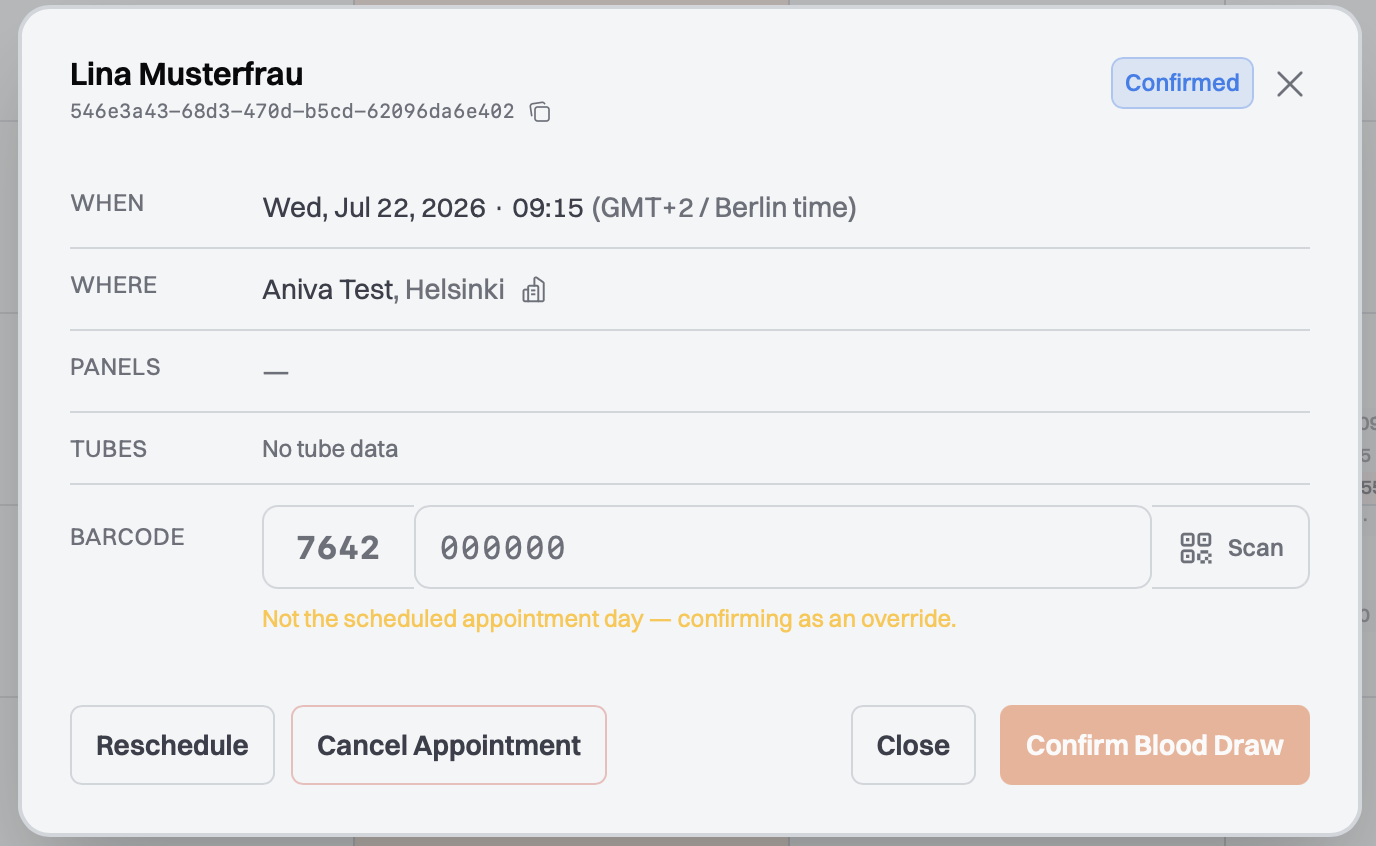
You see this view when you click on the appointment in the calendar. Once the blood draw is complete: scan the barcode off the tube – or type in the six digits from the label, the prefix is already in the field. The barcode comes pre-applied to the tube from our warehouse; you don't have to label anything. Then finish with “Confirm blood draw”. That tells us the customer was there and the sample is ready – every evening we check which samples are ready and have them collected by the next working day at the latest.
The appointment can only be confirmed on the day of the appointment – before that the button is greyed out and says it is only available on the appointment day.
The reports live under the “Table” tab – at the top of the appointments view, next to “Day”, “Week” and “Kanban”. Every blood draw is a row there. The calendar only shows the appointments themselves – looking for values there comes up empty.
The row has to be expanded. Click the arrow on the left of the row, the appointment opens and the report sits inside as a PDF. Collapsed, the row only shows the appointment itself – that's the step where most people get stuck.
The report is usually ready 48–72 hours after the pickup. Before that the appointment is already in the table, just without values – that's normal. There is currently no notification – so check the table yourself two or three days after the pickup. If nothing has arrived after 72 hours, write to us in the chat and we'll check where the sample is.
If the customer left an email address (step 4), they also receive the report by mail. Without one, everything runs through you – the customer comes back into the pharmacy for the report, which is exactly what the test is for.
Tasso devices, tubes, shipping pouches: everything runs through the chat in the admin panel – click the chat icon in the bottom right and tell us briefly what you need. There is no order form and no minimum quantity.
Questions about the admin panel? Those go through the same chat – the chat icon in the bottom right.
Next in the track
Billing: when and how we invoice
Once a month, in arrears – and a test is only invoiced once every lab report for it has arrived.